Last week I was listening to a great IoT session by Niels Ophey and Alexander Schmidt at Bechtle in Hamburg. They told us a little news about the Azure MX IoT Dev Kit. While thinking about that, today I got my own Raspberry 3 kit. This posts and it’s follow-ups will document some first steps on playing around with my Renkforce Raspberry PI 3 Experiment Kit and first steps connecting this to Azure IoT Hub.
Unpacking the box
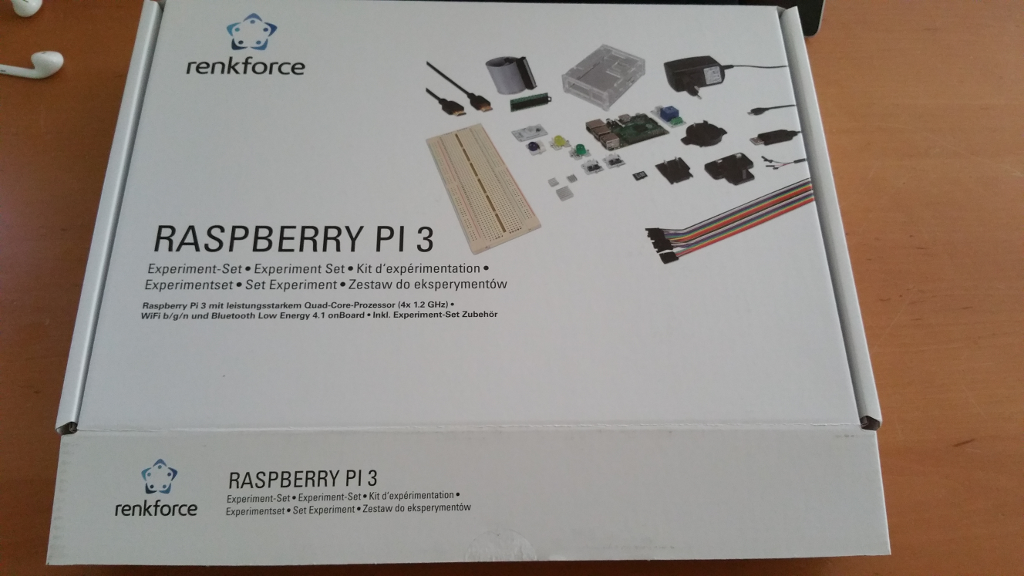
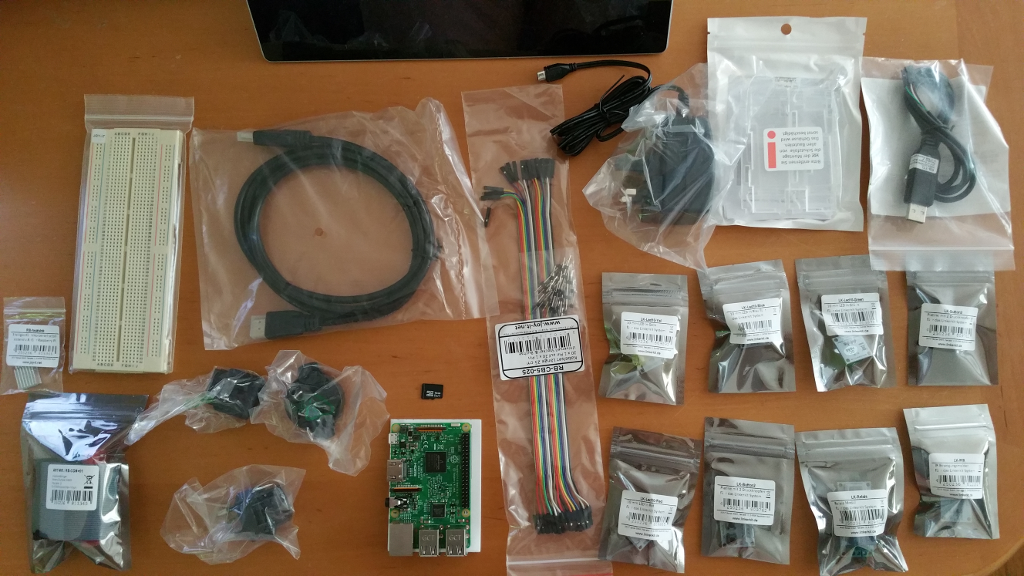
As some of you may know when it comes to plaything I’m a little bit physical – go to the shop, get it to your cart and take it home directly. No time wasted by waiting for the parcel service, unpack and go. This Raspberry PI 3 package comes with some basic additional features that you may use to create your first project. Components are
- a Raspberry PI 3 Model B, 1 GB
- the Raspberry PI 2.5A power pack, including some international clips for Germany, UK, etc.
- a cooler kit
- an HDMI cable
- a Cobbler connectiing kit
- a USB TTL-cable
- a Breadboard kit, including the breadbord and a GPIO connection cable
- 4×10 mm LEDs (yellow, red, blue, green)
- 2x on-off switches
- an IR motion detector
- a simple relais module
- a clear chassis
- an 8 GB microSD card.
The 8 GB microSD card has a NOOBS preinstalled. In my case I will replace that with a faster 32 GB microSD I bought separately. At my custom card I will make use of Windows 10 IoT as I’m more familiar with a Windows base system than with a Linux OS.
This is a good starters equipment for people like me who need to learn first on how to build simple circuits with light and magic by using on breadboard.
Getting the OS to work
Installing Windows 10 IoT sounds pretty easy and straight forward
- download and install your Windows 10 IoT Core Dashboard. This not only works for you as the tool of choice to deploy your OS, it also works as your zookeeper in case you run many Windows 10 IoT boxes.
The best point to start with your box is the Get Started page at developer.microsoft.com. At that page just select your board type and follow the instructions. - Go back to the Windows 10 IoT Core Dashboard. Go to the “Settings” dialog first and “Sign In”. Enter your Microsoft Developer account information here. This enables you to receive the up-to-date builds for your Raspberry box including insider versions, etc. When done, It will proceed by downloading your build of choice (if you do not have a recent download on your machine) and copy it to your microSD card.
- insert your microSD card to your computer. As my Surface Pro 3 natively has a build-in microSD adapter on the backside of its chassis, I don’t need an additional adapter to insert the card.
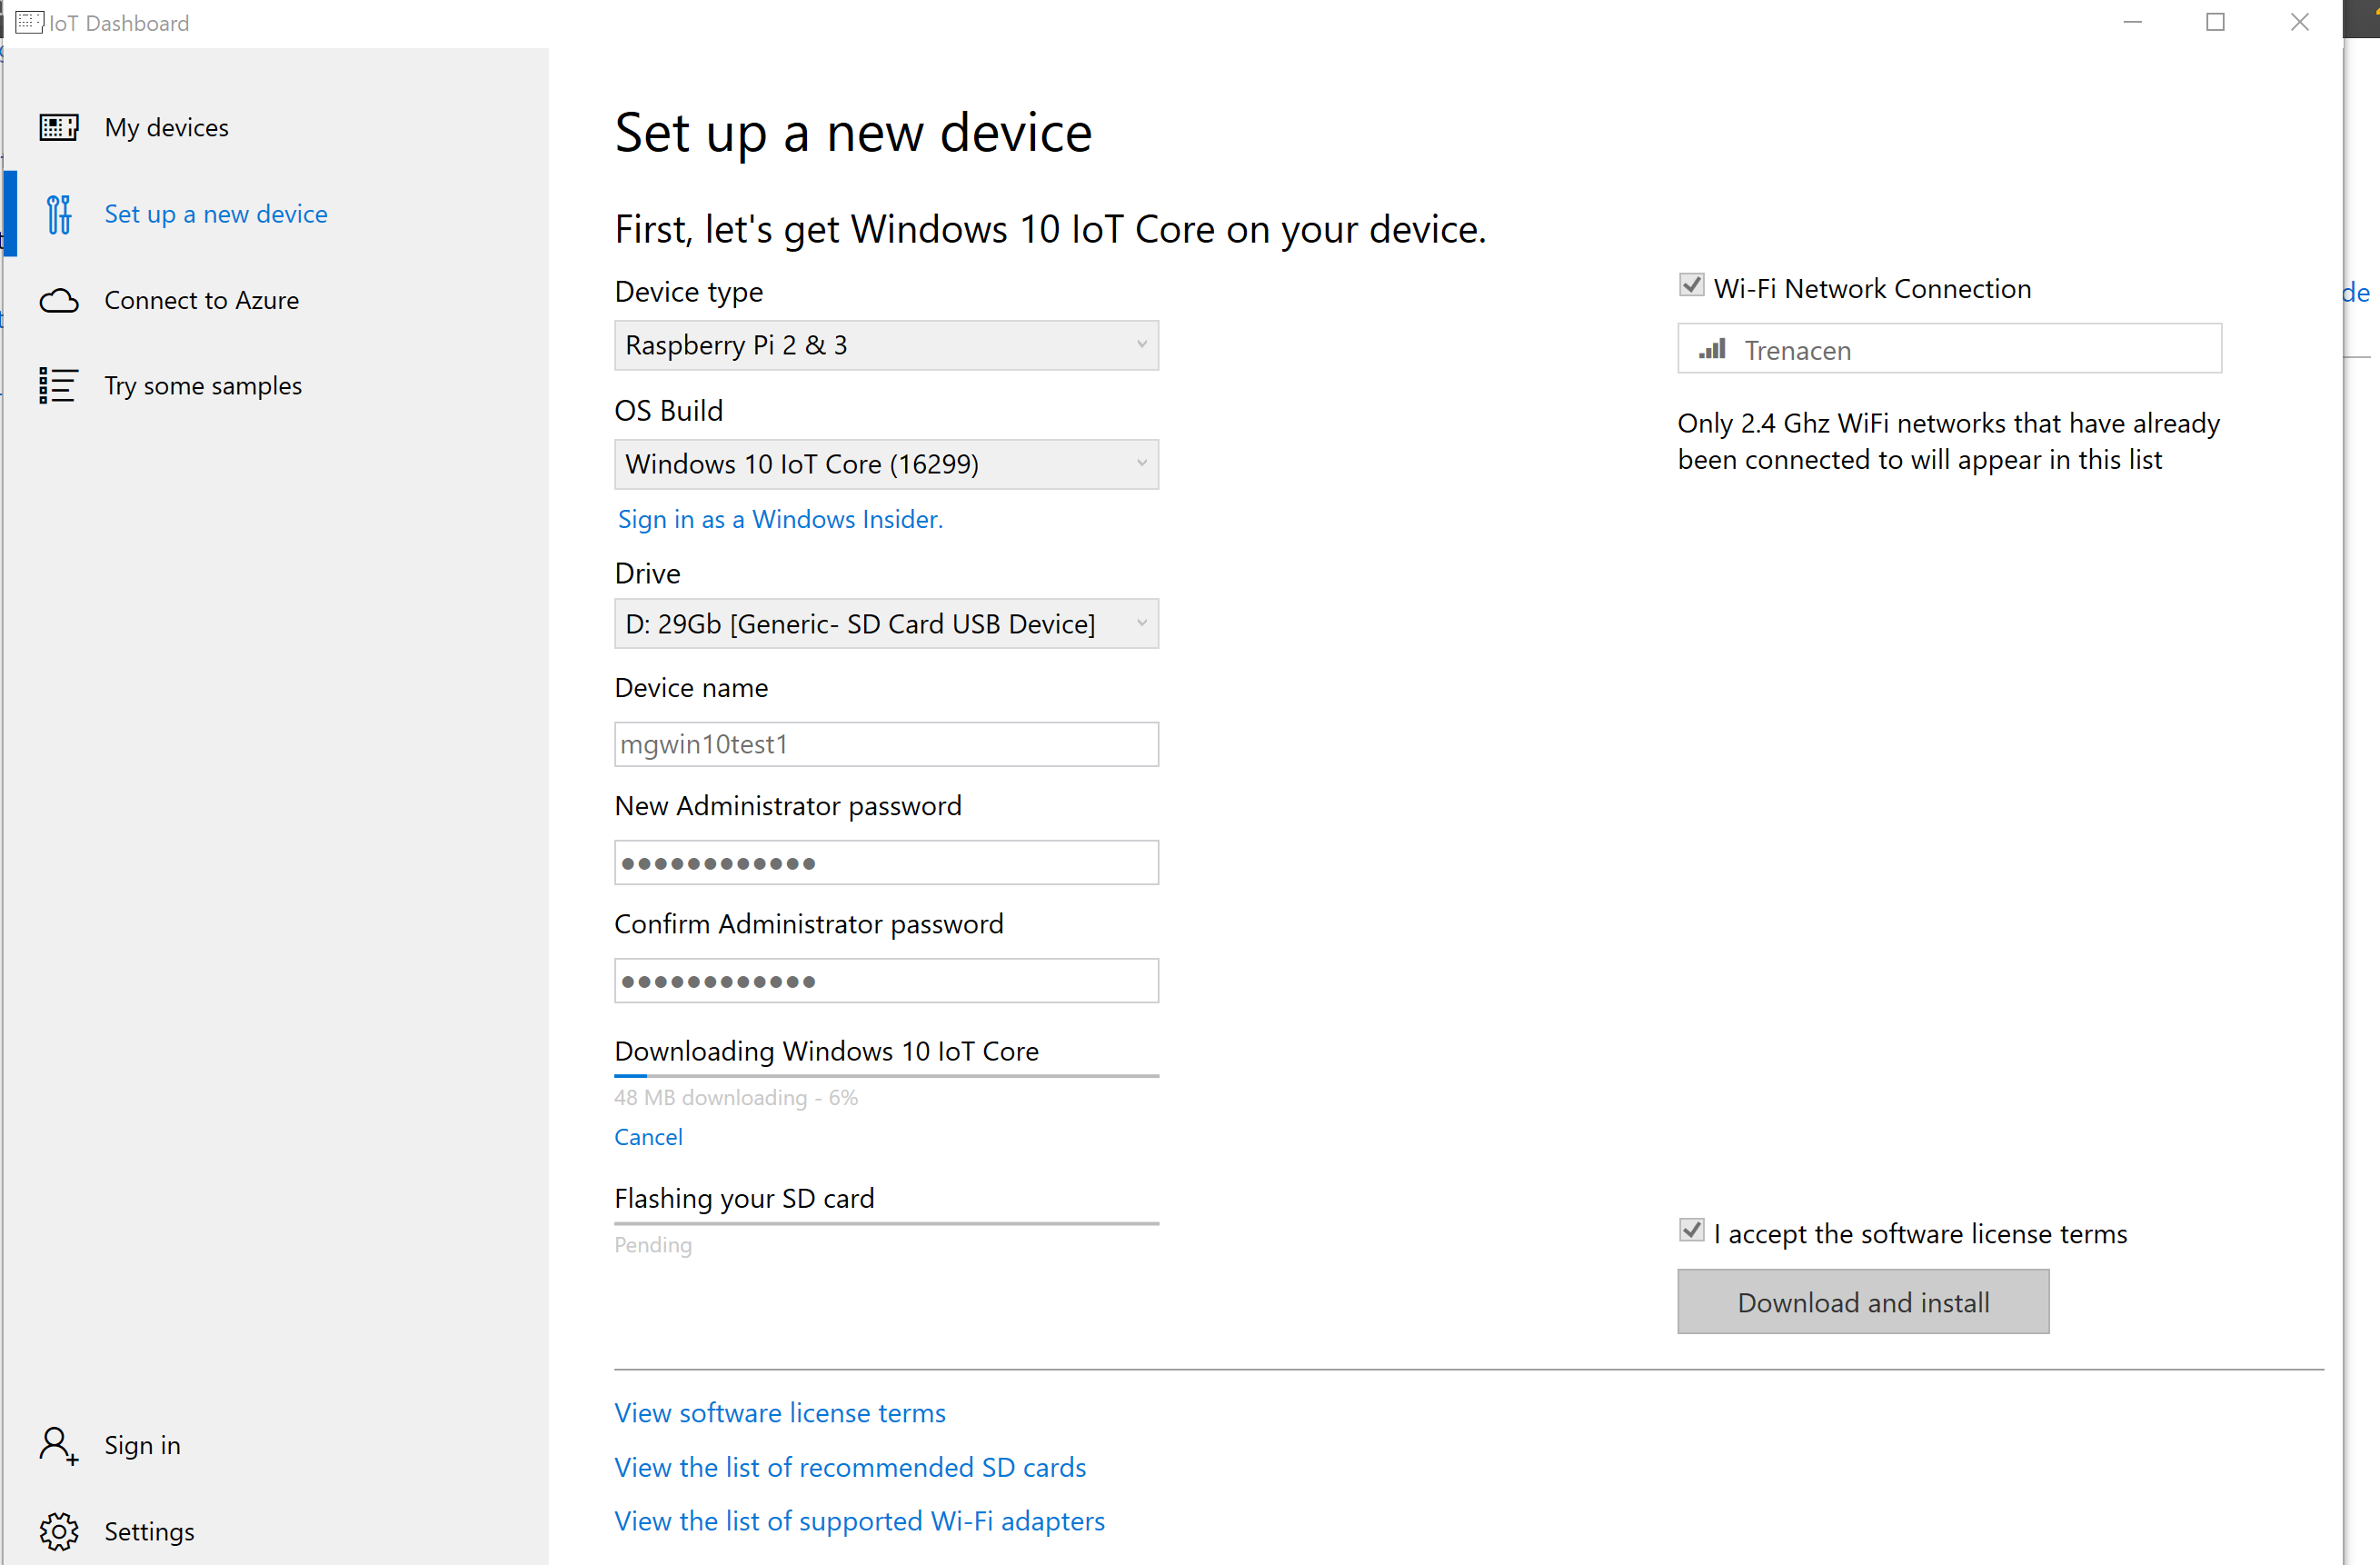
Choose your device Type and the OS Build, and Enter your password for the “administrator” account. You will need this password later when logging in to the Windows Device Portal. It looks like you are able to configure a Wireless LAN profile here. Unfortunately this never worked for me.
When you click “download and install” at the right bottom you will find a progress on downloading your image and flashing your microSD card on the left. Depending on if you already had downloaded your image before, you should be patient here and drink some more coffee.

- When done, just eject the card from your computer and put it into your Raspberry device. For the initial setup, I also connected a LAN cable to the device. Power on your device.
Starting up Windows 10 IoT for the first time
I did not connect any keyboard and mouse. While Windows 10 IoT prompts you for selecting a language etc when starting up for the first time, you can just omit that step by adding some waiting time. It will continue with an auto-selection (english keyboard) which is fine for me, using a non-interactive box.
Up to now, I didn’t really understand why Microsoft expects me to connect a keyboard and mouse to an IoT box by default? Anyway, this way, depending on your microSD cards performance, starting up for the first time may take 10-15 minutes.
After some additional waiting time your box should display something like the following screenshot on its HDMI display port. It automatically obtained an IPv4 and IPv6 address from the Ethernet DHCP (an AVM Fritz!Box in my case) and detected some additional hardware components, like the box Generic USB Hub etc. 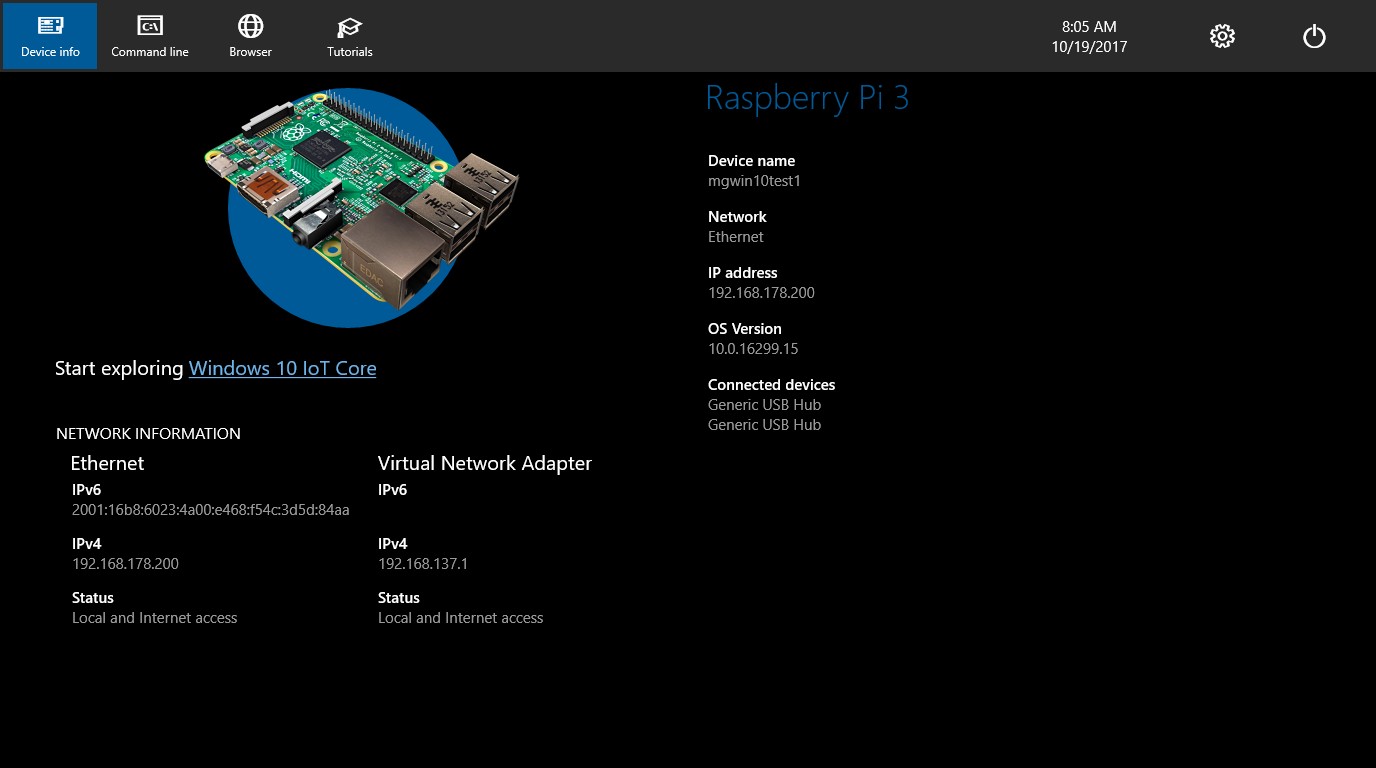
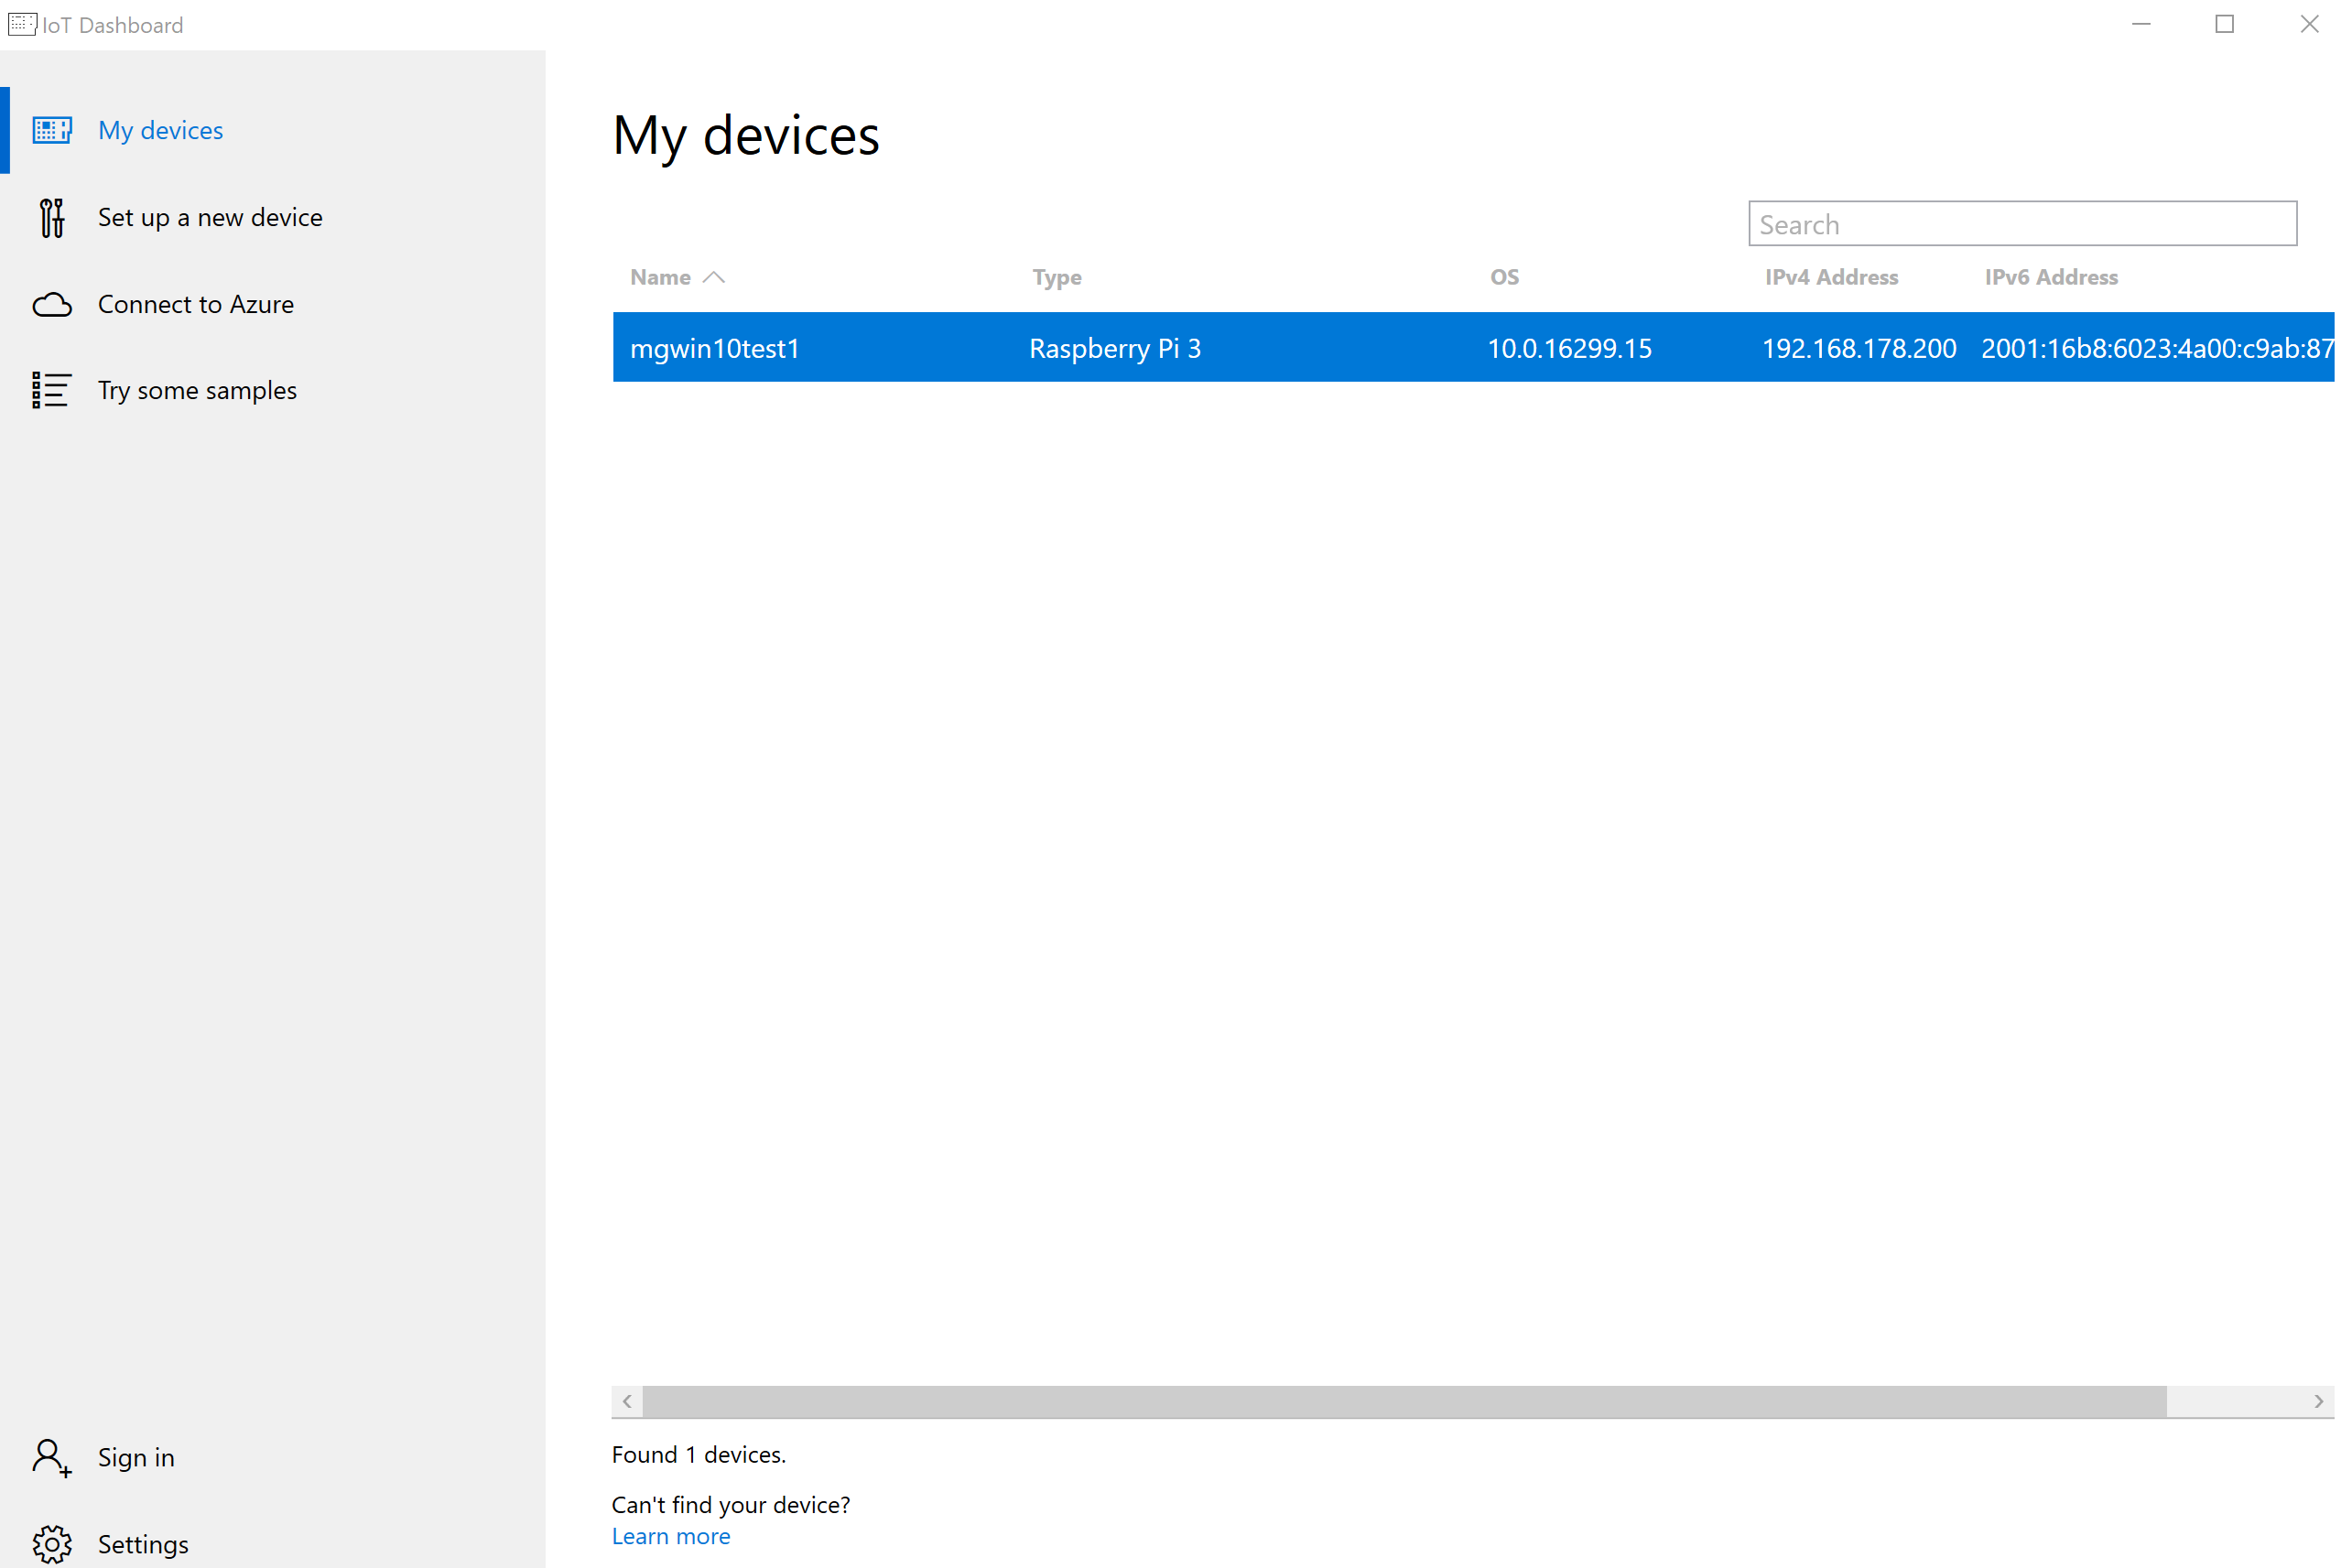
Go back to your Windows 10 IoT Dashboard. Your device should be displayed here. As I have only one device in this network, it’s very easy to find mine. Right click your device and select “Open Device Portal”.
This will open your Windows Device Portal page on your IP:8080 by default. Logon by using “administrator” as the logon name and the password you specified earlier. I suggest you should go to the Connectivity menu in the next step and change all the passwords and PIN settings displayed here.
When done, go to the “Windows Update” tab. If you’re connected to the internet, this is a good point to “Check for Updates” on your new device. Typically your device will request you to restart, when finished.

When your device is restarted, you’re ready to go and play around with some sample apps on the Apps menu.
Resumee
In this blog article you learned what is included in the renkforce Raspberry PI3 Experiment Set box and how to perform a basic setup to run a Windows 10 IoT operating system on your Raspberry PI 3. In a later blog article we will discuss on how to use the Breadboard to create a simple traffic light, use the motion detector and connect your box to the Azure IoT Hub. See you later!